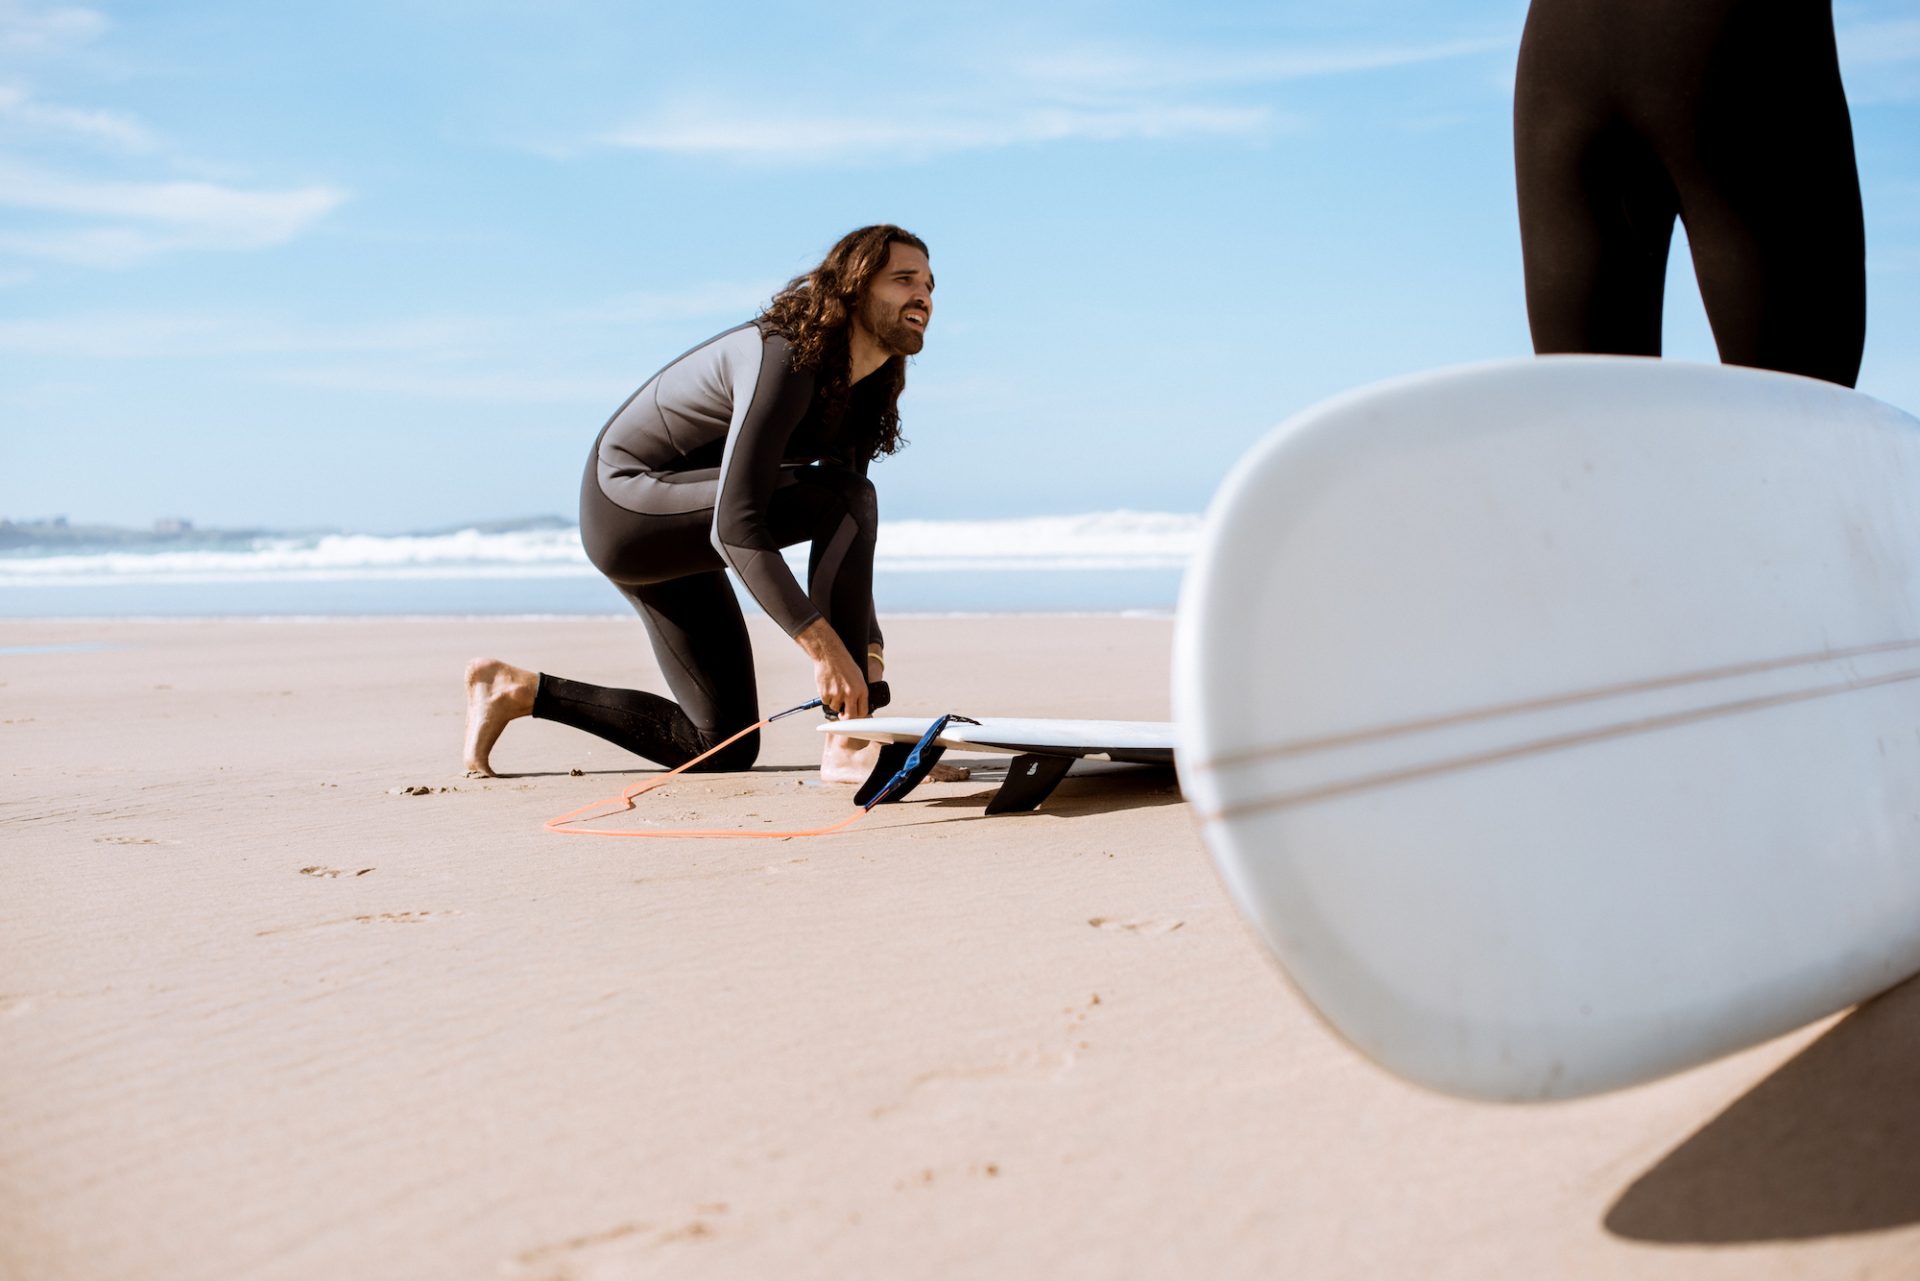
While tying a surfboard leash may seem pretty straightforward, surfers do often lose their surfboard in the sea due to incorrect tying techniques. It is essential to understand the function of different leash parts and choose the right one to ensure your and your board’s safety. Here is how to proficiently tie a surf leash.
Out of all your surfing gear, the most important thing is your surfboard leash. And while we know that there is no better feeling for a surfer than having your trusty surfboard at your side with nothing in sight except the tranquil water rising and curling into waves, we also know surfing is a sport that can get dangerous if not done with precautions.
For instance, one thing that you never want to lose while surfing is obviously your surfboard. For starters, it is your only means to float in the heavy water. Besides, the sea can take your surfboard away, never to be found. And even if you manage to find it after a wipeout, chances are that it will hit the rocks and reunite with you in a heavily damaged condition. Or worse, it can hit your fellow surfing buddies.
There are countless reasons why losing your surfboard is not an ideal situation. This is when a surfboard leash comes into the picture. Surfing in Sri Lanka is one of the most popular sports among tourists, however before you decide to hit the southern Sri Lankan waves, let’s first pen down the basics of how to proficiently tie a surf leash.
What Are The Different Parts Of A Surf Leash?
A surfboard leash consists of a Velcro strap that usually goes around a surfer’s ankle, a urethane cord, a string, and a strip of fabric called railsaver which is a thin piece of fabric designed to protect your surfboard.
Now, this said piece of string is the most important part of a surfboard leash. Without it, you cannot tie your leash to the board. And trust us, there is nothing more annoying than arriving at the beach with everything you can possibly need except that small piece of string.
Our advice to you would be to keep some spare ones in your surfing-essential bag and car trunk and to avoid such surfing tribulations. Or you can choose a leash which has the string attached to the railsaver so that there is absolutely no chance you will forget it.
The railsaver part of your leash protects your surfboard from getting damaged. The rails, i.e., the sides of your surfboard, are your board’s most fragile part. They can easily get damaged by your Velcro strap or the urethane cord. Although a railsaver is designed to protect your board during a wipeout, it is something you should keep in mind while tying your leash string knot and attaching the string to your surfboard
Tips for Tying a Surfboard Leash
So now, you have a surfboard leash, its string, and your surfboard; chances are that you will need or want to tie one end of your leash to the surfboard and another end to your ankle –increasing the lifespan of all three of them.
This is how you can proficiently tie a surf leash
Tying a Leash String Knot
Thankfully, most modern surfboard leashes have a knot sewn to the rail saver. And even if it is not, most strings come with a tight knot that does not require further adjusting. However, in case you need to tie a leash string knot, it’s the most basic thing in the world.
All you need to do is fold your string in half, treat these new two strands of string as one, and tie a basic thumb knot. Assuming you know how to tie a basic thumb not, this shouldn’t be a difficult task for you. However, the loop of your string depends on the size of your leash plug, the distance from the rail, and your preference.
Tying Your Leash to the Surfboard
Now that you are done with tying your leash string, it is time to securely attach your leash to the surfboard
Start by taking the loop end of your string and pushing in under the leash plug’s bridge. You can also use a fin key or a screwdriver to push the string all the way through. After you pull the hoop from the other side, this is when most people make a mistake.
Instead of pulling the loop all the way through, pull it only halfway through so that you can end up with two smaller loops of equal sizes. Now unstrap the Velcro and thread the longer end through both loops about halfway or as far as the break in the Velcro and re-affix the folds of Velcro in reverse order.
You will do the same thing, even if your railsaver has a knot sewn to it, except that you will only thread the strap through one of the loops. Specifically, the far loop that you previously pushed through the leash plug.
And that is about it! This is how you can proficiently tie a surf leash and prevent your surfboard from floating away after a wipeout.
If you have been planning your dream surf trip, let us introduce you to the best surf camp in Sri Lanka: The Surfers is truly a gateway to surfing paradise. You can get daily surfing lessons and yoga sessions with their experienced instructors. Contract The Surfers now, and plan your ideal surf trip.
